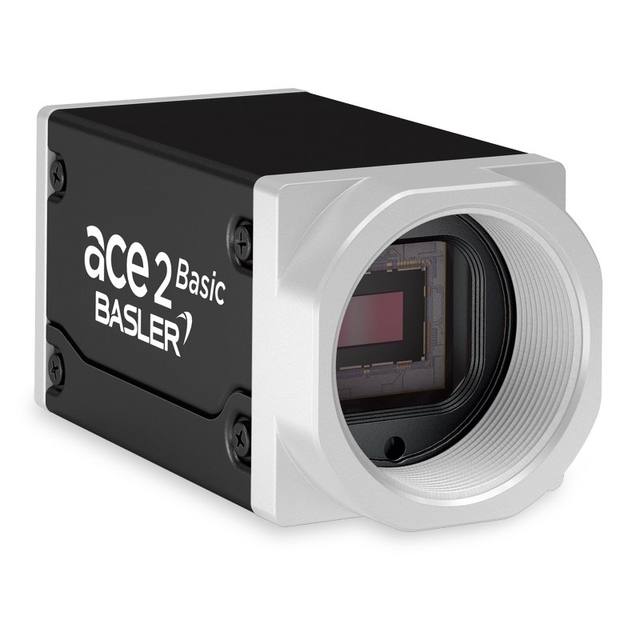
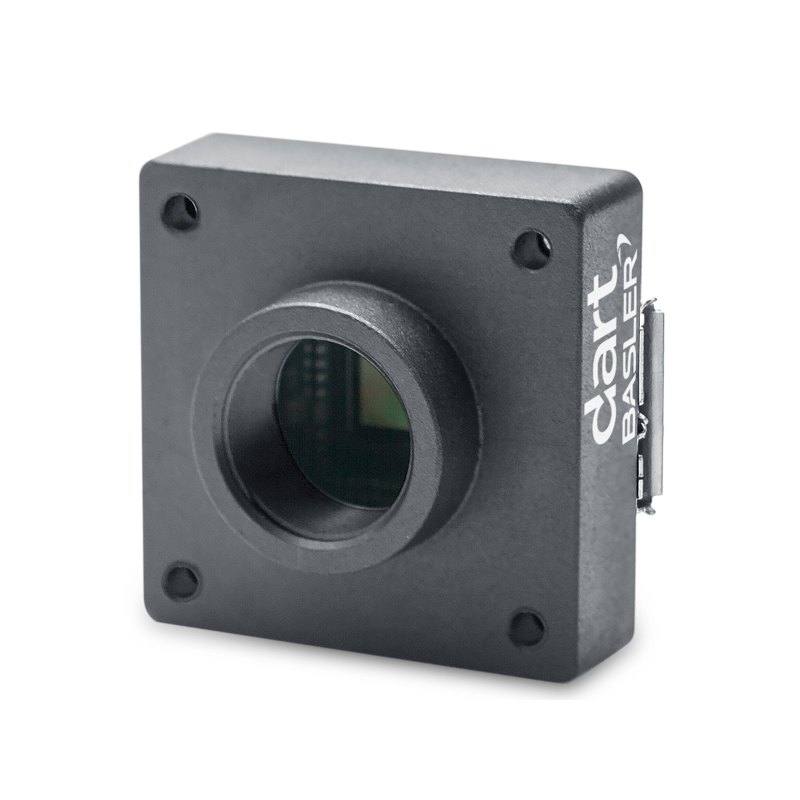
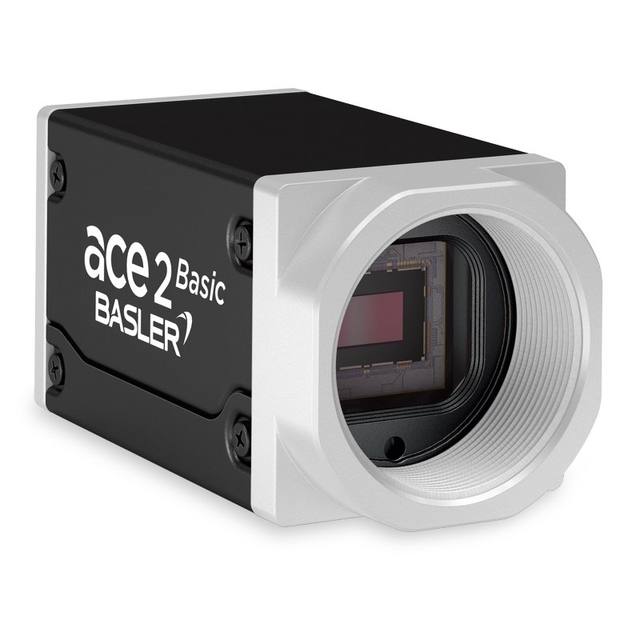
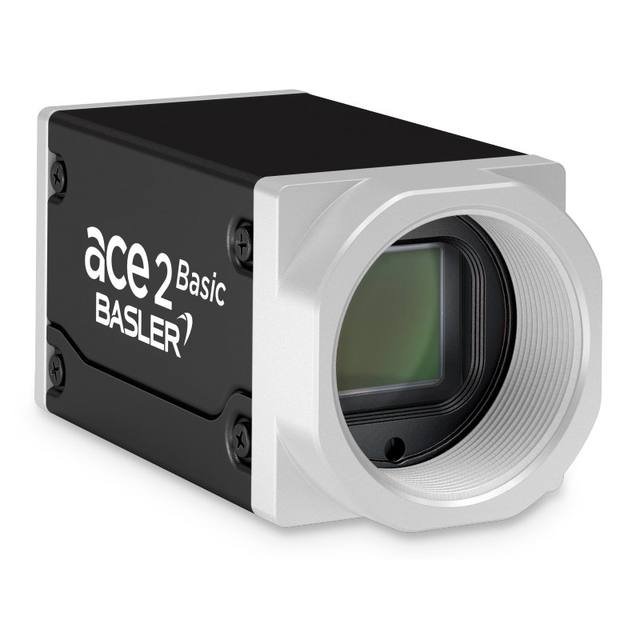
The Basler dart daA2500-14uc is a compact board-level USB 3.0 area scan camera built around the onsemi MT9P031 1/2.5" CMOS rolling-shutter sensor with 2592 x 1944 px (5 MP) resolution and 2.2 x 2.2 µm pixels, delivering 14 fps at full resolution in color. It connects via a Micro-B USB 3.0 (SuperSpeed, nominal 5 Gbit/s) interface and is compliant with the USB3 Vision and GenICam 2.x standards. The camera is available in S-mount, CS-mount and bare-board (no-mount) variants, weighs under 15 g, and draws approximately 1.3 W typical at 5 VDC supplied over USB. It supports 8-bit and 12-bit pixel formats and includes two general-purpose I/O lines on a 6-pin connector.
The Basler dart daA2500-14uc is a board-level USB 3.0 area scan camera built around the onsemi MT9P031, a 1/2.5" (5.70 x 4.28 mm, 7.13 mm diagonal) CMOS sensor delivering 2592 x 1944 px (5 MP) of color resolution through a rolling shutter. With 2.2 x 2.2 um pixels on a small optical format, this is a high-pixel-density, low-cost imager geared toward static or slow-moving inspection tasks where you need fine spatial detail rather than freeze-frame motion capture. The rolling shutter is the defining constraint: because rows are exposed sequentially, fast lateral motion will skew or smear, so this camera is best aimed at parts that are stationary at the moment of capture (indexed conveyors, pick-and-place dwell points, presented-part stations) rather than continuous high-speed flow. At full 5 MP resolution it runs 14 fps over its USB 3.0 SuperSpeed link (nominal 5 Gbit/s), which is ample bandwidth for the frame rate and leaves headroom; the limiter here is the sensor's readout, not the interface.
The camera speaks USB3 Vision and GenICam 2.x, so it integrates cleanly with standard machine-vision libraries (including Basler's pylon SDK) and any USB3 Vision-compliant software stack without proprietary drivers. It connects through a Micro-B USB 3.0 port and is bus-powered, drawing only about 1.3 W typical at 5 VDC over the cable, which means a single USB connection carries data, control, and power, simplifying cabling on compact or embedded installations. Pixel formats of 8-bit and 12-bit give you a choice between minimal data footprint and extra tonal depth for demanding color or low-contrast work. Two general-purpose I/O lines on a 6-pin connector handle the essentials of triggering and signaling: you can hardware-trigger acquisition from a sensor or PLC and drive a strobe output, which is the recommended way to couple this camera with controlled lighting so each frame is captured under a repeatable, motion-arresting flash.
Physically this is one of the smallest cameras in its class: a 19.9 x 29.3 x 29 mm body weighing about 15 g, offered in S-mount, CS-mount, and bare-board (no-mount) variants. The S-mount and bare-board options are what make it attractive for OEMs embedding vision into handheld devices, kiosks, or tight machine enclosures, while CS-mount accommodates more conventional industrial lenses. Lens selection should respect the small 1/2.5" format and the 2.2 um pixel pitch: choose optics rated for at least 5 MP on a 1/2.5" sensor so resolving power matches the pixel density, and budget for the format when calculating field of view and working distance. The 0 to 50 C operating range and 5 VDC bus power suit indoor, controlled factory and lab environments rather than harsh or wide-temperature deployments.
Best for
Embedded and OEM vision in space- and weight-constrained devices, where the 15 g, sub-30 mm body and S-mount or bare-board options let the 5 MP camera be designed directly into a machine or handheld unit
Static or indexed defect and surface inspection of presented parts at conveyor dwell points, using the 2592 x 1944 px detail to catch fine flaws while the part is momentarily stationary
Color packaging, print and label inspection where the onsemi color sensor and 12-bit output verify shades, registration and print quality on stop-station presentations
OCR/OCV and 2D code reading on slow or indexed product, where 5 MP resolution provides the pixels-per-character and pixels-per-cell margin needed for reliable decoding
Bench-top and lab dimensional measurement of fixtured parts, where rolling shutter is a non-issue and the high pixel count maximizes measurement resolution across the field of view
Selection notes
Confirm the application has no fast motion at capture: the rolling shutter will distort or smear parts moving laterally during exposure, so either present parts stationary, index-and-stop the conveyor, or pair with a controlled strobe to arrest motion via short flash exposure
Plan throughput around 14 fps at full 5 MP; if your station needs higher frame rates, you would have to reduce resolution via ROI, so verify that 14 fps meets cycle-time demands at the resolution you actually require
Match the lens to the small 1/2.5" format and 2.2 um pixels: specify 5 MP-rated optics for a 1/2.5" sensor in S-mount or CS-mount, and compute field of view and working distance from the 5.70 x 4.28 mm active area
Wire triggering and lighting through the two GPIO lines on the 6-pin connector: use a hardware trigger from a PLC or part sensor for repeatable timing and drive a strobe output to synchronize controlled illumination with each frame
Verify host capacity and cabling: the camera is USB 3.0 (SuperSpeed) bus-powered at ~1.3 W over a Micro-B connector, so ensure the host port supplies adequate SuperSpeed bandwidth and current and keep cable runs within USB3 Vision limits; plan for a 0 to 50 C indoor environment
Specifications: General
Brand
Basler
Camera type
Area scan
Specifications: Sensor
Resolution
5 MP
Horizontal resolution
2592 x 1944 px
Mono / color
Color
Sensor manufacturer
onsemi
Sensor model
onsemi MT9P031 (CMOS)
Shutter
Rolling shutter
Sensor size
1/2.5" (5.70 x 4.28 mm, 7.13 mm diagonal)
Pixel size
2.2 x 2.2 µm
Specifications: Performance
FPS
14 fps at full resolution
Specifications: Interface
Interface
USB 3.0 (SuperSpeed, nominal 5 Gbit/s)
Protocols
USB3 Vision, GenICam 2.x
Specifications: Optics
Mount
S-mount, CS-mount, or bare board (no mount)
Specifications: Electrical
Power
Powered via USB, approx. 1.3 W typ. @ 5 VDC
Power consumption
1.3 W
Specifications: Environment
Operating temperature
0 to 50 °C
Specifications: Mechanical
Dimensions
19.9 x 29.3 x 29 mm
Weight
15 g
Applications this camera is commonly selected for. Open one to see the full recommended hardware and approach.
We could not derive compatible lenses from the available data for this camera.
Matched automatically by: lens mount fits the camera mount · lens image circle covers the camera sensor — this camera: S-mount, CS-mount, or bare board (no mount) · 1/2.5" (5.70 x 4.28 mm, 7.13 mm diagonal) sensor.
Get a first image quickly with the pylon Viewer, then move into the pylon SDK for your application. These cameras are GenICam/GenTL-compliant, so any compliant vision software can drive them as well.
Download and install the pylon Camera Software Suite for your OS from Basler. This provides the pylon Viewer, the GenTL transport-layer producers and the pylon SDK (C/C++/.NET/Python). On Windows the installer adds the needed drivers; on Linux follow the included setup notes for USB and network permissions.
2. Connect the camera and check the link
Cable the camera to its matching interface: GigE Vision to a GigE port (use a quality cable and, ideally, a dedicated NIC with jumbo frames enabled), USB3 Vision to a USB 3.x port with the supplied cable, or CoaXPress to the frame grabber. Provide power where required (PoE, USB bus power, or PoCXP). Open the pylon Viewer and confirm the camera appears in the device list; for GigE, make sure the camera and NIC are on the same subnet.
3. Grab a first image and set exposure, gain and pixel format
Select the camera in the pylon Viewer and start a continuous grab. Adjust exposure time and gain until the image is well exposed (avoid clipped highlights), set the pixel format (e.g. Mono8 or a Bayer/RGB format), and focus the lens. Use a test pattern if the lens or scene is not ready yet.
4. Configure triggering and acquisition
Decide between free-run and triggered acquisition. For synchronized capture, set the trigger source (software or a hardware line on the I/O connector), trigger mode and any debounce or exposure mode, then verify timing. Note the parameter names you change in the Viewer feature tree, as you will reuse them in code.
5. Move to the SDK or a GenICam-compliant library
Recreate your settings in code with the pylon SDK (C, C++, .NET or Python) to open the device, apply the same features and pull frames into your pipeline; pylon vTools and pylon AI can add processing blocks. Because the cameras are GenICam/GenTL standard, third-party vision libraries work too. Once the image stream is stable, you can route frames to a deep-learning inspection such as Rosepetal for automated defect detection.
Frequently asked questions
It uses the onsemi MT9P031, a 1/2.5" CMOS rolling-shutter sensor with 2592 x 1944 px (5 MP) and 2.2 x 2.2 um pixels, capturing in color.
It delivers 14 fps at full 5 MP resolution over its USB 3.0 SuperSpeed (nominal 5 Gbit/s) interface.
It has a rolling shutter, so it is best suited to static or indexed parts; fast lateral motion during exposure can cause distortion unless arrested with a short strobe exposure.
It connects and is powered through a single Micro-B USB 3.0 cable, drawing approximately 1.3 W typical at 5 VDC supplied over the bus, with no separate power supply needed.
It is offered in S-mount, CS-mount, and bare-board (no-mount) variants, and it provides two general-purpose I/O lines on a 6-pin connector for hardware triggering and strobe output. It supports USB3 Vision and GenICam 2.x with 8-bit and 12-bit pixel formats.