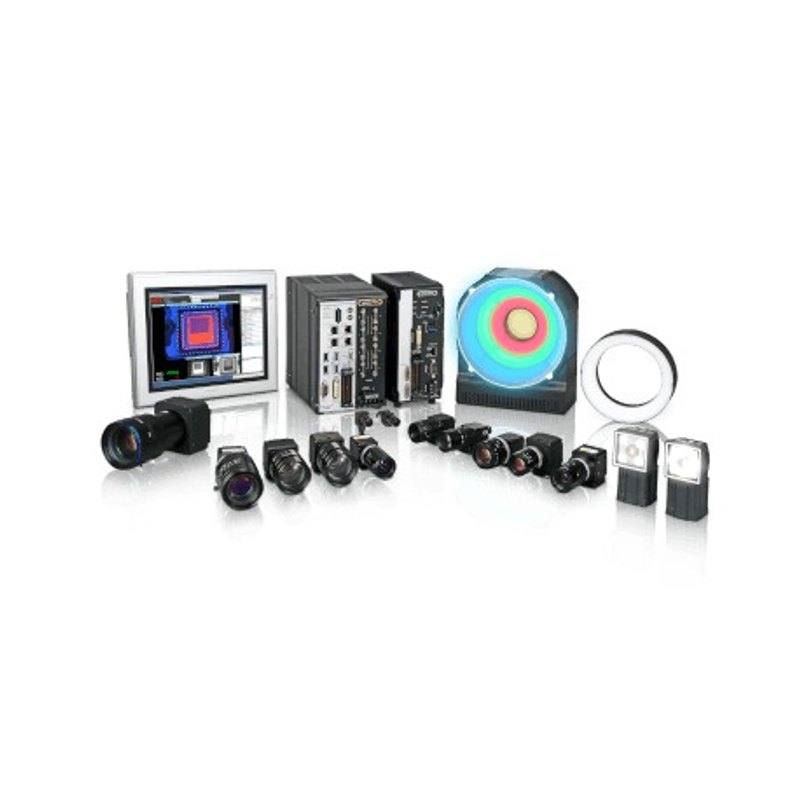
The Omron FLV-TCC1EP is a compact camera-mountable illumination controller that drives one channel of an FLV-EP series light unit, eliminating the need for a controller inside the control panel. It operates from a 24 VDC supply with a maximum current consumption of 1.5 A and uses a constant-voltage drive method so illumination luminance does not drop over long wiring runs. Luminance and dimming are set directly from the connected Omron image sensor (FH/FZ series). The unit is housed in an aluminium enclosure with a PVC cable, measures 96 x 40 x 20 mm, carries an IP42 rating and operates from 0 to +50 °C.
Brand
Omron / Sentech
Controller required
Integrated camera-mount controller (no external panel controller needed)
Supply voltage
24 VDC
Power consumption
1.5 A max. at 24 VDC (approx. 36 W)
Driver technology
Constant-voltage drive method
Connection
PVC cable (camera-mount)
Housing material
Aluminium housing, PVC cable
Dimensions
W96 x H40 x D20 mm
Operating temperature
0 to +50 °C
Lighting type
Controller for FLV/FLV-EP light units (1 spot light)
The Omron FLV-TCC1EP is not a light source itself but a single-channel illumination controller that drives one channel of an FLV / FLV-EP series light unit. What makes it distinctive is that it mounts on the camera rather than living inside the control cabinet: the aluminium enclosure measures just W96 x H40 x D20 mm and connects through a PVC cable, so the power and dimming electronics ride out at the imaging head instead of consuming panel space. For an integrator, this collapses the usual three-part chain of panel controller, long light cable and remote light into a compact head-mounted assembly, eliminating the need for a separate controller inside the control panel.
The driver runs from a 24 VDC supply and draws up to 1.5 A maximum (approximately 36 W), which sets the ceiling on the light unit it can feed; it is sized for one spot light, not a multi-channel ring-and-bar arrangement. The key electrical detail is the constant-voltage drive method: because the controller regulates voltage to the light, illumination luminance stays stable even over long wiring runs, so brightness does not sag with cable length the way a poorly regulated supply would. Luminance and dimming are not set on the controller by a potentiometer or trim screw. They are commanded directly from the connected Omron image sensor (the FH or FZ series vision controller), so the light level becomes a parameter of the inspection program rather than a manual hardware setting.
Environmentally the unit is built for the factory floor but not for washdown: it is housed in an aluminium enclosure with a PVC cable, the IP42 rating protects against incidental drips but not jets or immersion, and the operating window of 0 to +50 °C covers typical enclosed-line conditions. The IP42 body and PVC cable mean this is a controller for a guarded, climate-controlled inspection station rather than an exposed, hosed-down zone. Because dimming and triggering are orchestrated by the FH/FZ vision system, the FLV-TCC1EP is fundamentally a component within an Omron-centric vision cell: it presupposes an FLV/FLV-EP light on the output side and an FH/FZ sensor on the control side, and its value is realised when those pieces are already part of the design.
Best for
Camera-mounted inspection stations where panel space is scarce and you want the light driver at the imaging head instead of inside the control panel
Driving a single FLV / FLV-EP spot light in an Omron FH/FZ vision cell where luminance is set from the inspection program
Long light-cable runs where the constant-voltage drive keeps luminance stable without manual rebalancing
Defect, surface and dimensional inspection cells in electronics, automotive and packaging lines running at 0 to +50 °C in a guarded enclosure
OCR/OCV and code-reading stations that need program-controlled, repeatable illumination tied directly to the Omron vision controller
Selection notes
This is a single-channel controller for one spot light only; an application needing independent control of multiple lights (for example a ring plus a bar) requires one controller per channel or a multi-channel unit.
Confirm the light is an Omron FLV / FLV-EP series unit and the vision controller is an FH or FZ series image sensor; luminance and dimming are commanded from that sensor, so the part is intended for an Omron-native vision stack rather than third-party lights or PLC-driven dimming.
Budget the 24 VDC supply for the full 1.5 A maximum draw (about 36 W), and verify the chosen light unit stays within that ceiling.
The IP42 rating suits enclosed, guarded stations but not washdown, jets or immersion; for wet-cleaning zones plan additional sealing or an enclosure.
It mounts on the camera and connects via a PVC cable, so allow for the W96 x H40 x D20 mm body and its harness in the head packaging and cable-routing layout; keep it within the 0 to +50 °C operating range.
Specifications: General
Brand
Omron / Sentech
Lighting type
Controller for FLV/FLV-EP light units (1 spot light)
Specifications: Interface
Connection
PVC cable (camera-mount)
Specifications: Electrical
Controller required
Integrated camera-mount controller (no external panel controller needed)
Supply voltage
24 VDC
Power consumption
1.5 A max. at 24 VDC (approx. 36 W)
Driver technology
Constant-voltage drive method
Specifications: Environment
Operating temperature
0 to +50 °C
Specifications: Mechanical
Housing material
Aluminium housing, PVC cable
Dimensions
W96 x H40 x D20 mm
Applications this camera is commonly selected for. Open one to see the full recommended hardware and approach.
These steps take an Omron Sentech (STC) camera from the box to a stable first image and on to your own application. They apply across the GigE Vision, USB3 Vision and CoaXPress STC families; the interface only changes how you cable and power the camera.
Download and install the Sentech SDK on the host PC. The package provides StViewer, the viewing and configuration software you use to bring the camera up, and StApi, the programming SDK you integrate later. Because the cameras are GenICam/GenTL-compliant, StApi also registers a GenTL producer, so any GenICam-compliant third-party vision software can discover and drive the camera as an alternative front end.
2. Cable, power and connect the camera
Connect according to the interface. GigE Vision: link to a Gigabit NIC (use PoE or the separate power input) and put the camera and host on the same subnet; for USB3 Vision use a USB 3.x port and a certified cable; for CoaXPress (STC) connect to a CoaXPress frame grabber, which also supplies Power-over-Coax. Then open StViewer and let it enumerate the camera. If a GigE camera does not appear, check the IP configuration and firewall, and on USB3 confirm the host bandwidth and driver.
3. Configure exposure, gain and white balance
Open the device in StViewer and start a live stream. Set exposure and gain for a well-exposed, low-noise image: raise exposure first and only add gain when more light or a faster shutter is not an option, keeping exposure short enough to freeze motion on global-shutter models. On colour cameras, run white balance under your actual production lighting. Adjust the lens aperture and focus on a representative target before tuning anything else.
4. Set the trigger and grab a first image
Start in free-run (continuous) acquisition to confirm a clean, stable image. For inline inspection switch to hardware or software triggering: select the trigger source, set the active edge and any delay, and wire the strobe or illumination to the camera's I/O so lighting fires with each exposure. Acquire and save a frame in StViewer; this saved image is your reference for the SDK stage and for downstream inspection.
5. Move to the StApi SDK (or any GenICam software)
Once the image is stable, reproduce the same settings in code. Use StApi to open the device, apply the GenICam features you validated in StViewer (exposure, gain, trigger, pixel format) and grab frames into your application via the bundled C++, C, C#/.NET or Python interfaces; the included samples are the fastest starting point. Prefer a different stack? The same GenICam/GenTL camera works with third-party vision libraries. With a reliable feed, you can route it into a deep-learning inspection such as Rosepetal for AI-based defect detection.
Frequently asked questions
No. The FLV-TCC1EP is an integrated camera-mount controller, so it eliminates the need for a separate controller inside the control panel. The driving electronics ride on the camera head instead of the cabinet.
One. It is a single-channel controller that drives one channel of an FLV / FLV-EP series spot light. Multiple independently controlled lights need additional controllers.
Luminance and dimming are set directly from the connected Omron image sensor (FH or FZ series), making light level a parameter of the inspection program rather than a manual hardware adjustment on the controller.
It operates from a 24 VDC supply and draws up to 1.5 A maximum (approximately 36 W). Size the supply for that current ceiling.
Yes. The controller uses a constant-voltage drive method, so illumination luminance does not drop over long wiring runs to the light unit.
No. It carries an IP42 rating, which protects against incidental drips but not water jets or immersion, and it uses an aluminium enclosure with a PVC cable. It operates from 0 to +50 °C and is intended for guarded, enclosed stations.