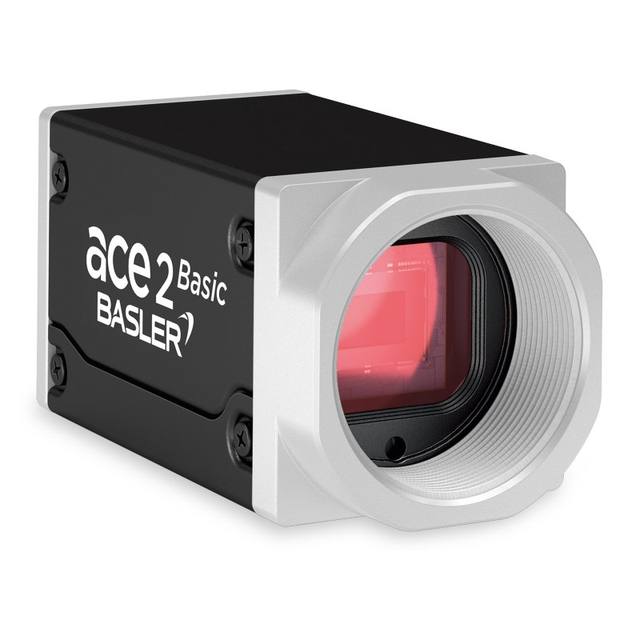
iRAYPLE 3000 Series 2.07MP IMX290 Area Scan Camera
A3200MG004E
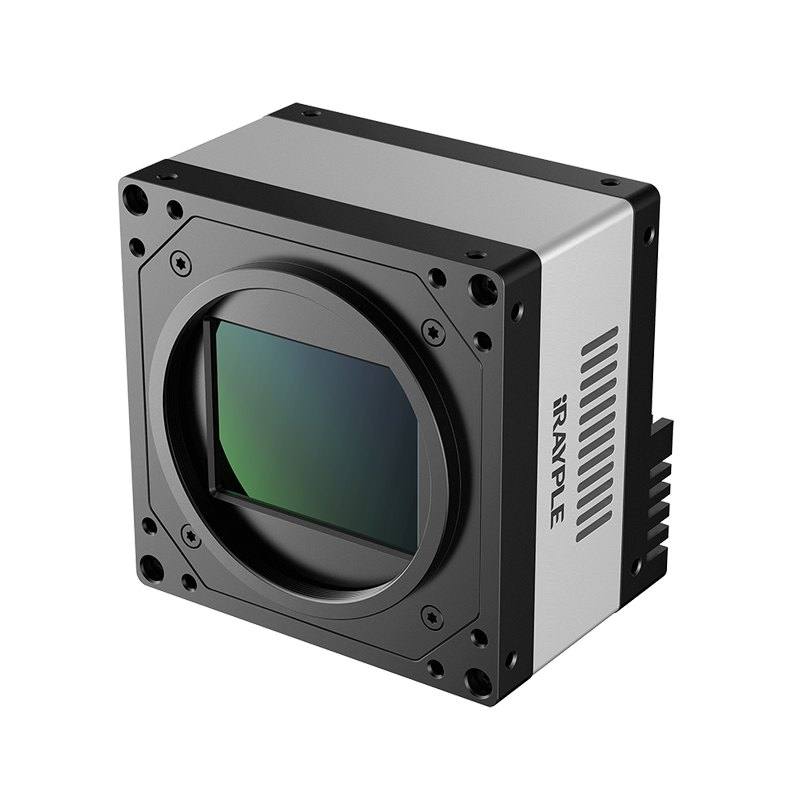
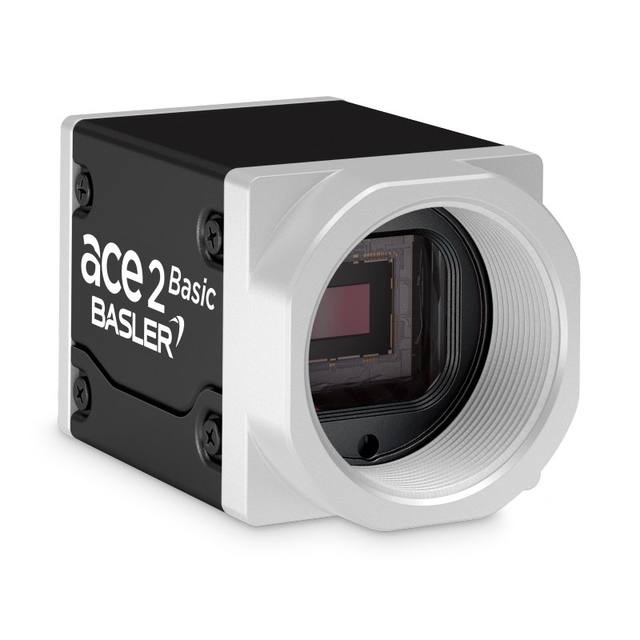
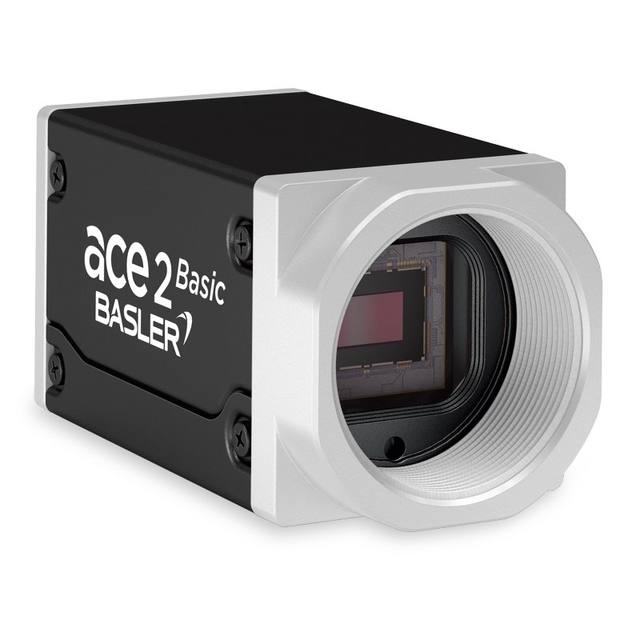
The A3200 family uses the Sony IMX290 1/2.8" CMOS sensor at 2.9 µm pixel pitch and 2.07 MP resolution with a rolling shutter. GigE variants (A3200MG004E mono, A3200CG000E color) deliver 22 fps over GigE Vision V2.0 with PoE or DC 9–24 V via a 6-pin Hirose, fitting in a 29×29×42 mm housing weighing 88 g. The USB3.0 variant (A3200CU000E color) reaches 120 fps via USB3.0 Vision/GenICam, fits a smaller 29×29×29 mm body at 68 g, and draws approximately 2.8 W. All models provide 256 MB (GigE) or 128 MB (USB3) on-board image buffer, C-mount lens fitting, opto-isolated GPIO via 6-pin Hirose, and ISP features including Gamma/LUT, sharpness, denoising, and ROI.
The iRAYPLE A3200 series is built around Sony's IMX290 STARVIS CMOS sensor — a 1/2.8" format device delivering 1920×1080 (2.07 MP) resolution at a 2.9 µm pixel pitch with a rolling shutter. The IMX290's STARVIS architecture was designed for high sensitivity in low-light conditions, which translates in industrial practice to the ability to work with lower-intensity strobe illumination or to tolerate wider aperture settings on the lens without sacrificing signal quality. The 2.9 µm pixel pitch sits in a practical middle ground: fine enough to resolve moderate-detail features across a 1920-pixel span, yet large enough to collect sufficient photons for high-contrast imaging without heavy gain. Installers specifying C-mount lenses should note that the 1/2.8" image circle is smaller than the more common 1/1.8" or 2/3" formats; lenses rated to cover 1/2" or larger will fully illuminate the sensor, while using a lens with a smaller rated image circle risks vignetting at the corners.
The interface choice drives very different deployment profiles. The two GigE Vision V2.0 variants — the A3200MG004E (monochrome) and A3200CG000E (color) — top out at 22 fps over standard Gigabit Ethernet and support Power over Ethernet, meaning a single CAT5e/CAT6 cable handles both data and power up to 100 m from the switch. A DC 9–24 V supply via a 6-pin Hirose connector is also available as an alternative power path, and the same connector carries opto-isolated GPIO for hardware trigger and strobe output. The 29×29×42 mm body at 88 g suits fixed-mount brackets on conveyor frames or collaborative robot wrists. The USB3.0 variant (A3200CU000E, color only) shrinks to 29×29×29 mm and 68 g, and trades cable distance for burst throughput: 120 fps at full 1080p makes it appropriate for high-cadence part-feeding lines or motion-blur-sensitive tasks where triggering alone cannot freeze every object. Power for the USB3 variant is drawn from the USB3 bus at approximately 2.8 W, or alternatively from a DC 9–24 V supply via the 6-pin Hirose connector. All models carry an on-board image buffer (256 MB for GigE, 128 MB for USB3) to absorb burst frames during processing stalls.
ISP features built into the camera — gamma/LUT curves, sharpness enhancement, denoising, and hardware ROI — allow installers to push processing upstream and reduce host CPU load. ROI windowing is particularly valuable at 22 fps on GigE: cropping to a smaller active region can increase the effective frame rate for applications where only a fraction of the 1920×1080 frame carries the feature of interest. The operating temperature range of −30 °C to +50 °C covers most factory environments including cold-chain logistics and outdoor-adjacent industrial zones without needing an enclosure upgrade. The rolling shutter design is the primary mechanical trade-off: objects moving faster than the line-scan time will exhibit a shear distortion. For conveyor inspection this is managed by trigger timing and adequate lighting to keep exposure times short; for applications with unpredictable or multi-axis motion, a global-shutter alternative should be evaluated.
Best for
Conveyor-based surface and packaging inspection at controlled line speeds, where the 22 fps GigE variant with PoE simplifies cable routing and the monochrome IMX290 sensitivity reduces strobe power requirements.
High-throughput parts feeding and pick-and-place robot guidance using the 120 fps USB3 color variant, where the higher frame rate reduces the probability of motion blur between trigger pulses on fast indexing mechanisms.
OCR/OCV and traceability code reading on labeled or marked components in electronics, pharma, and logistics lines, where 1920×1080 resolution provides enough pixel budget to resolve small fonts or Data Matrix codes across a moderate field of view.
Dimensional gauging and presence/absence inspection of electronic PCBs or automotive sub-components in bench-mount or collaborative-robot configurations, exploiting the compact 29×29 mm footprint and low 88 g mass to mount close to the work piece.
Cold-storage or outdoor-adjacent industrial environments (−30 °C to +50 °C) where the camera's native temperature tolerance removes the need for a heated enclosure, applicable in food packaging cold rooms and logistics sortation halls.
Selection notes
Rolling shutter trade-off: the IMX290's rolling shutter accumulates rows sequentially, so fast lateral motion during exposure will shear image features. Verify that your trigger-to-exposure timing and strobe duration are short enough to freeze motion at your line speed, or select a global-shutter camera if parts move on unpredictable axes.
Lens image-circle matching: the 1/2.8" sensor requires a lens rated for at least 1/2" coverage. Many low-cost C-mount lenses are rated for 1/3" and will vignette the corners. Confirm the lens datasheet specifies the image circle at your chosen aperture, not just the nominal sensor format.
GigE cable distance vs. USB3 throughput: GigE PoE supports runs up to approximately 100 m to the switch, making it suitable for fixed conveyor stations. USB3 is limited to approximately 5 m without an active repeater but delivers 120 fps versus 22 fps — choose based on whether frame rate or cable length is the binding constraint.
ROI for effective frame-rate gain on GigE: if the inspection feature occupies only the central portion of the frame, use the camera's hardware ROI to crop the active area. Reducing the active row count proportionally raises the maximum frame rate on the GigE variants and reduces network bandwidth consumption.
Power supply selection: the GigE variants accept PoE (802.3af) or DC 9–24 V on the 6-pin Hirose; nominal consumption is 3.3 W. The USB3 variant draws approximately 2.8 W from the USB3 bus or can be powered via the DC 9–24 V Hirose connector as an alternative — a USB3 cable alone handles data and bus power in bench or desktop setups, but the Hirose option is available where a regulated DC supply is preferred.
Specifications: General
Brand
iRAYPLE
Camera type
Area Scan
Specifications: Sensor
Resolution
2.07 MP
Horizontal resolution
1920 × 1080 px
Mono / color
Mono (A3200MG004E); Color (A3200CG000E, A3200CU000E)
Follow these steps to bring up your iRAYPLE camera, capture a first image, and move from the viewer to your own application. The flow is the same across the A, AE, AX and L series; only the physical interface differs.
Download and install the iRAYPLE machine-vision SDK together with its viewer client for your operating system. The installer provides the camera drivers, the GenTL producer, and the viewer you will use for first light. For GigE Vision models, also install or enable the bundled filter/performance driver on the network adapter to maximize throughput.
2. Connect the camera to the correct interface
Wire the camera to its matching host interface: a dedicated Gigabit (or 10 GigE) NIC for GigE Vision models, a USB3 Vision port with a quality cable for USB3 models, or a frame grabber for CoaXPress models. Power the camera (PoE, USB bus power, or PoCXP / external supply as applicable). For GigE Vision, put the NIC and camera on the same subnet and, where supported, enable jumbo frames.
3. Detect and open the camera in the viewer
Launch the iRAYPLE viewer, run device enumeration, and select your camera from the discovered list. Open it to load the device feature tree (GenICam node map). If a GigE camera is found but cannot be opened, correct the IP configuration so the camera and NIC are in the same address range.
4. Set exposure, gain and trigger, then grab a first image
Start with continuous (free-run) acquisition under stable lighting. Adjust exposure time and gain for a well-exposed, low-noise image, set the pixel format (e.g. Mono8 or a Bayer/RGB format), and tune white balance on color models. Once the live image looks correct, switch trigger mode to hardware or software trigger to synchronize capture with your process, and verify a single triggered frame.
5. Move from the viewer to the SDK or a GenICam library
With imaging confirmed, reproduce the same settings in code using the SDK's C/C++ or Python API: enumerate, open, configure the relevant GenICam features, register a frame callback or grab loop, and convert frames to your pipeline's buffer format. Since the cameras are GenICam/GenTL-compliant, you can alternatively drive them from a third-party GenICam vision library. From here a stable image stream can feed a deep-learning inspection step such as Rosepetal for automated quality control.
Frequently asked questions
The two GigE variants (A3200MG004E monochrome and A3200CG000E color) run at 22 fps at full 1920×1080 resolution. The USB3.0 variant (A3200CU000E color) reaches 120 fps at full resolution. Using hardware ROI to reduce the active row count on the GigE models can increase effective frame rate above 22 fps.
Yes — the GigE variants support PoE, drawing power from a compliant 802.3af switch or injector; nominal consumption is 3.3 W. Both GigE variants also accept DC 9–24 V via the 6-pin Hirose connector as an alternative power path. The USB3 variant draws approximately 2.8 W from the USB3 bus and additionally supports DC 9–24 V via the 6-pin Hirose connector.
All models use a rolling shutter. This means the sensor reads out rows sequentially rather than exposing the entire frame simultaneously. For stationary or slowly moving parts with short strobe exposures the effect is negligible. For fast-moving objects or applications where parts may have lateral velocity during exposure, a rolling shutter can introduce geometric distortion; evaluate whether your trigger and lighting strategy can freeze motion sufficiently.
All variants use a C-mount. When selecting a lens, specify coverage for at least a 1/2" image circle to fully illuminate the 1/2.8" Sony IMX290 sensor without corner vignetting. Standard C-mount lenses for 1/2" or larger formats are widely available from industrial lens manufacturers.
All models provide opto-isolated GPIO via the 6-pin Hirose connector, supporting hardware trigger input and strobe output. This allows precise synchronisation with conveyor encoders, PLCs, or external strobe controllers. The GigE variants follow GigE Vision V2.0 and GenICam; the USB3 variant uses USB3 Vision and GenICam, so both are compatible with standard machine vision software environments that support those protocols.